
Dear blog readers before sharing my repair note, I want to make you aware that this activity involves working with high voltage, which can cause serious injury or death. Do not attempt this repair unless you are fully trained and understand the risks. Improper handling of electrical components can be fatal. Safety precautions, proper tools, and a deep understanding of what you’re doing are essential.
Proceed at your own risk.
I wanted to share how I repaired an inverter that I had been using in my garden. The device had been out of service for quite some time, just sitting there unused. Luckily, I finally set aside some time to take a closer look at it.
The first step was removing the front panel of the inverter. At first glance, I noticed something unusual — the blade fuses (the small green components) didn’t look quite right. Their color seemed off, which immediately raised a red flag.
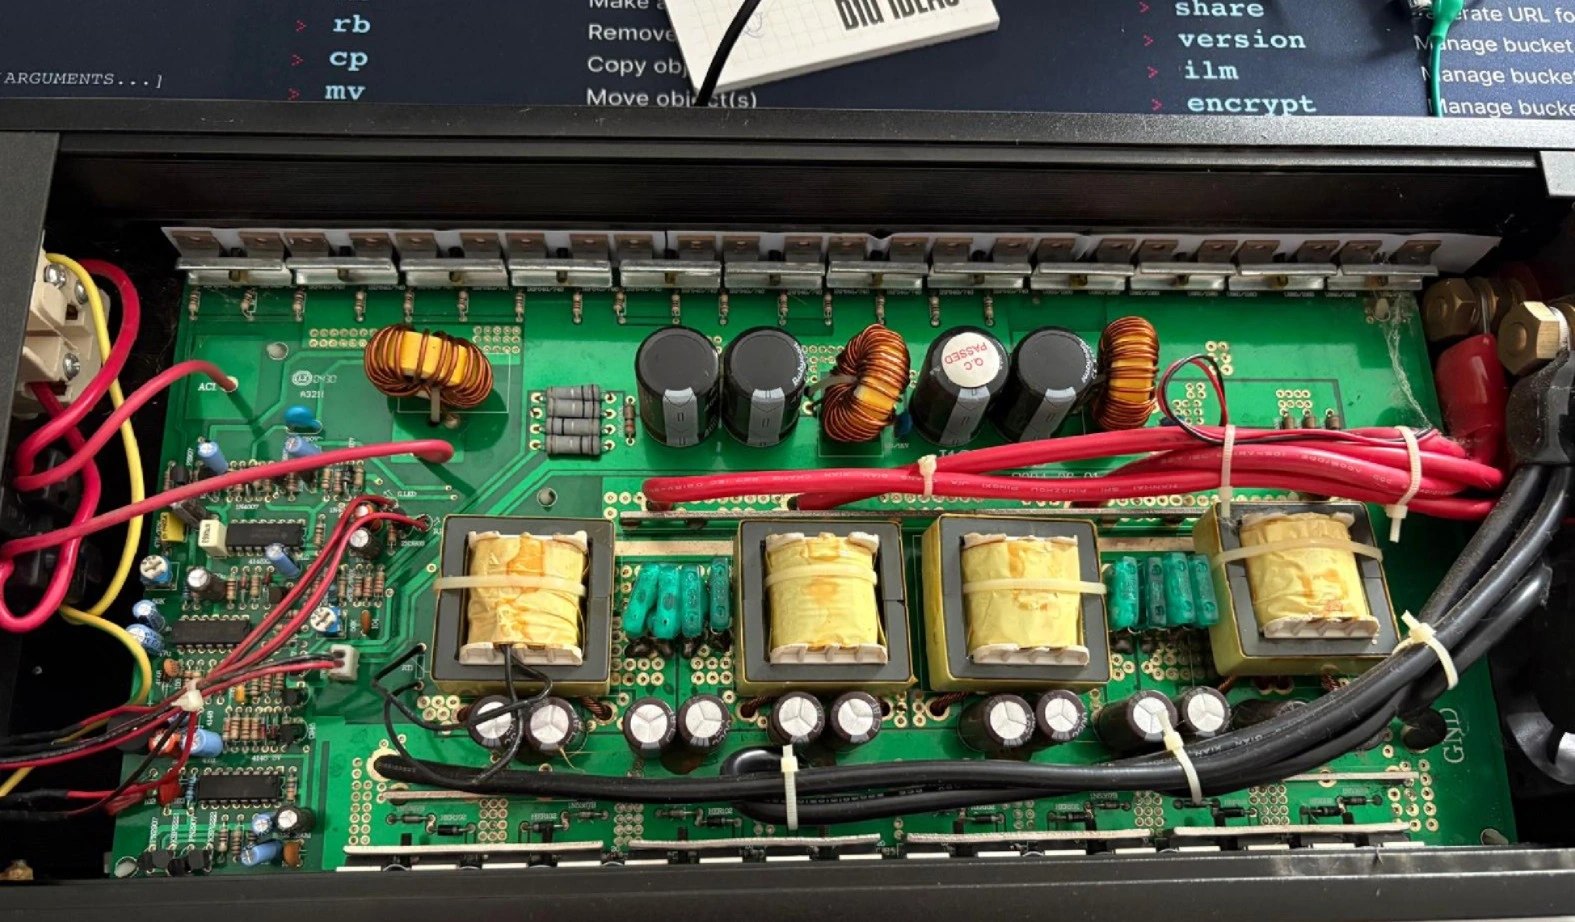
After checked them closely, I clearly saw them they were blown out.
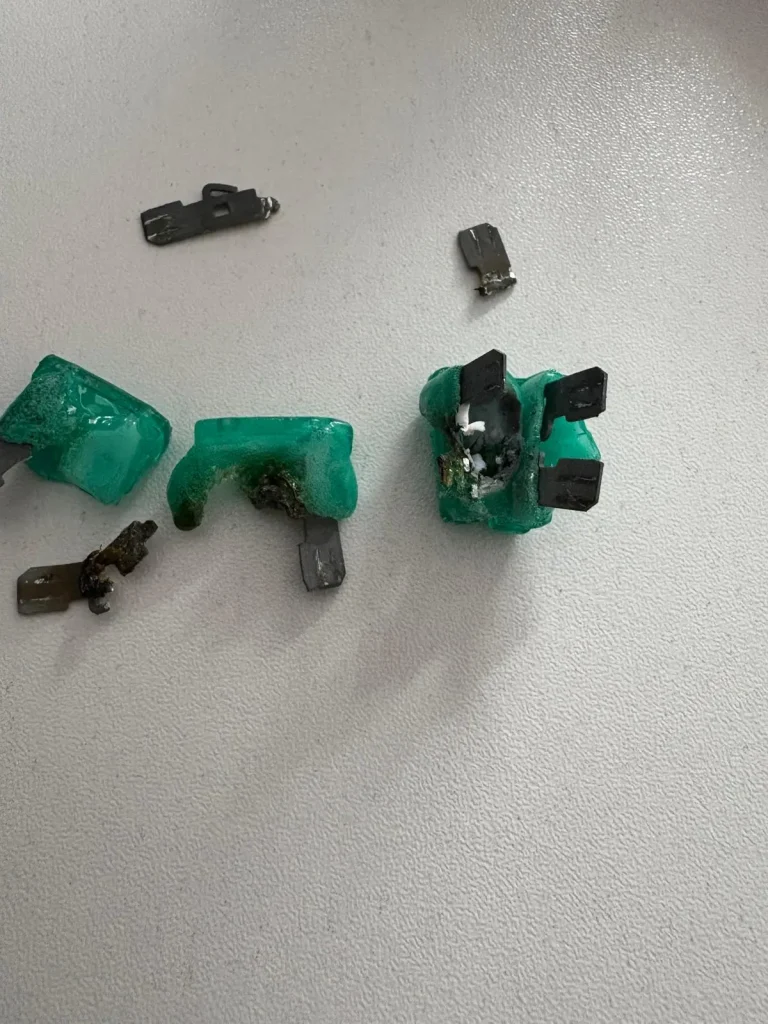
Nevertheless, I was able to see the value of current for the fuses. (35 A). So, new fuses were ordered on the Internet and replaced old ones with the new ones carefully. Be careful with the replacement… Make sure that no DC supply is provided to inverter and no stored voltage in the capacitors.
Testing
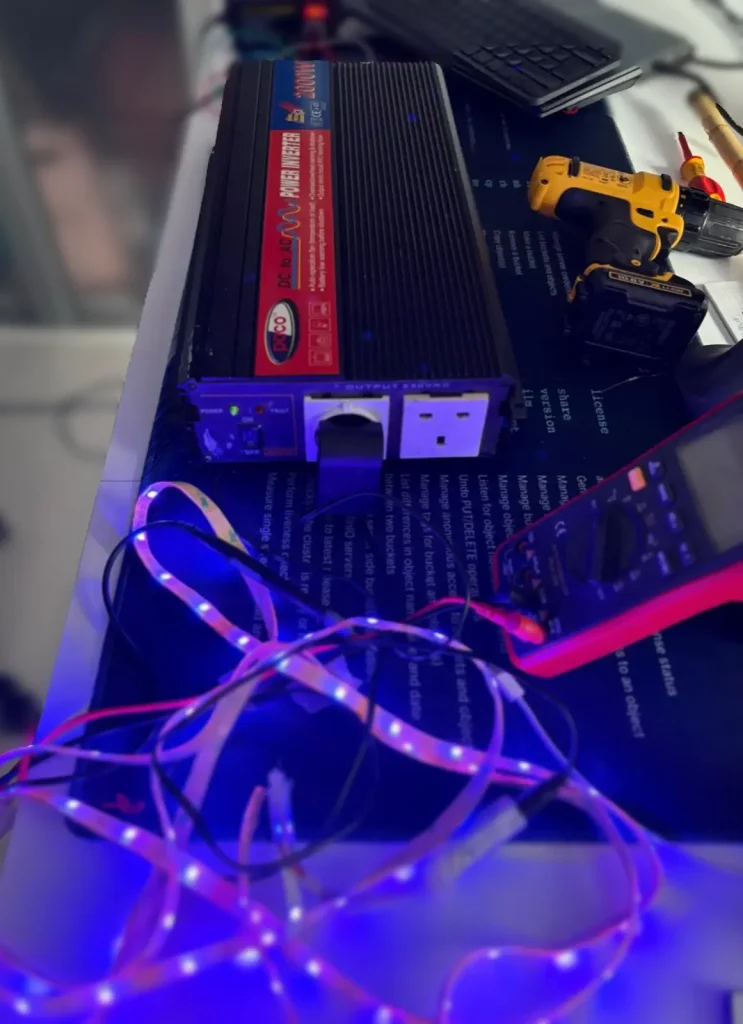
It is now time for testing. As simple test, the inverter was supplied with small adjustable DC Power supply at 14V. As result, provided DC and current is enough to produce AC 220 Voltage to drive small RGB Led strip.
In order to drive more powerful appliances, you need to supply inverter with more powerful DC source such as car batteries.